What to Record on Every Drone Property Inspection
Start with the Basics: Date, Site, and Conditions
Every drone flight on a property should begin with a consistent set of administrative details. Record the exact inspection date and the time the drone took off and landed. Note the weather conditions at the time of flight: cloud cover, wind speed, temperature, and any precipitation. This information helps later reviewers understand why certain images look the way they do, and it provides a reliable timestamp for any maintenance issues discovered. Also log the drone model and camera settings used, so that future flights can replicate the same vantage points and image quality.
The site itself needs clear identification. Use the property address, parcel number, or a unique site ID assigned by the client. If the property has multiple buildings or zones, note which area the flight covered. A simple site map sketch or GPS waypoint file saved alongside the imagery can prevent confusion later. Property managers who work with National Drone Services often find that a consistent naming convention for flights and folders makes retrieval much faster months down the line.
Photo Evidence: What to Capture Every Time
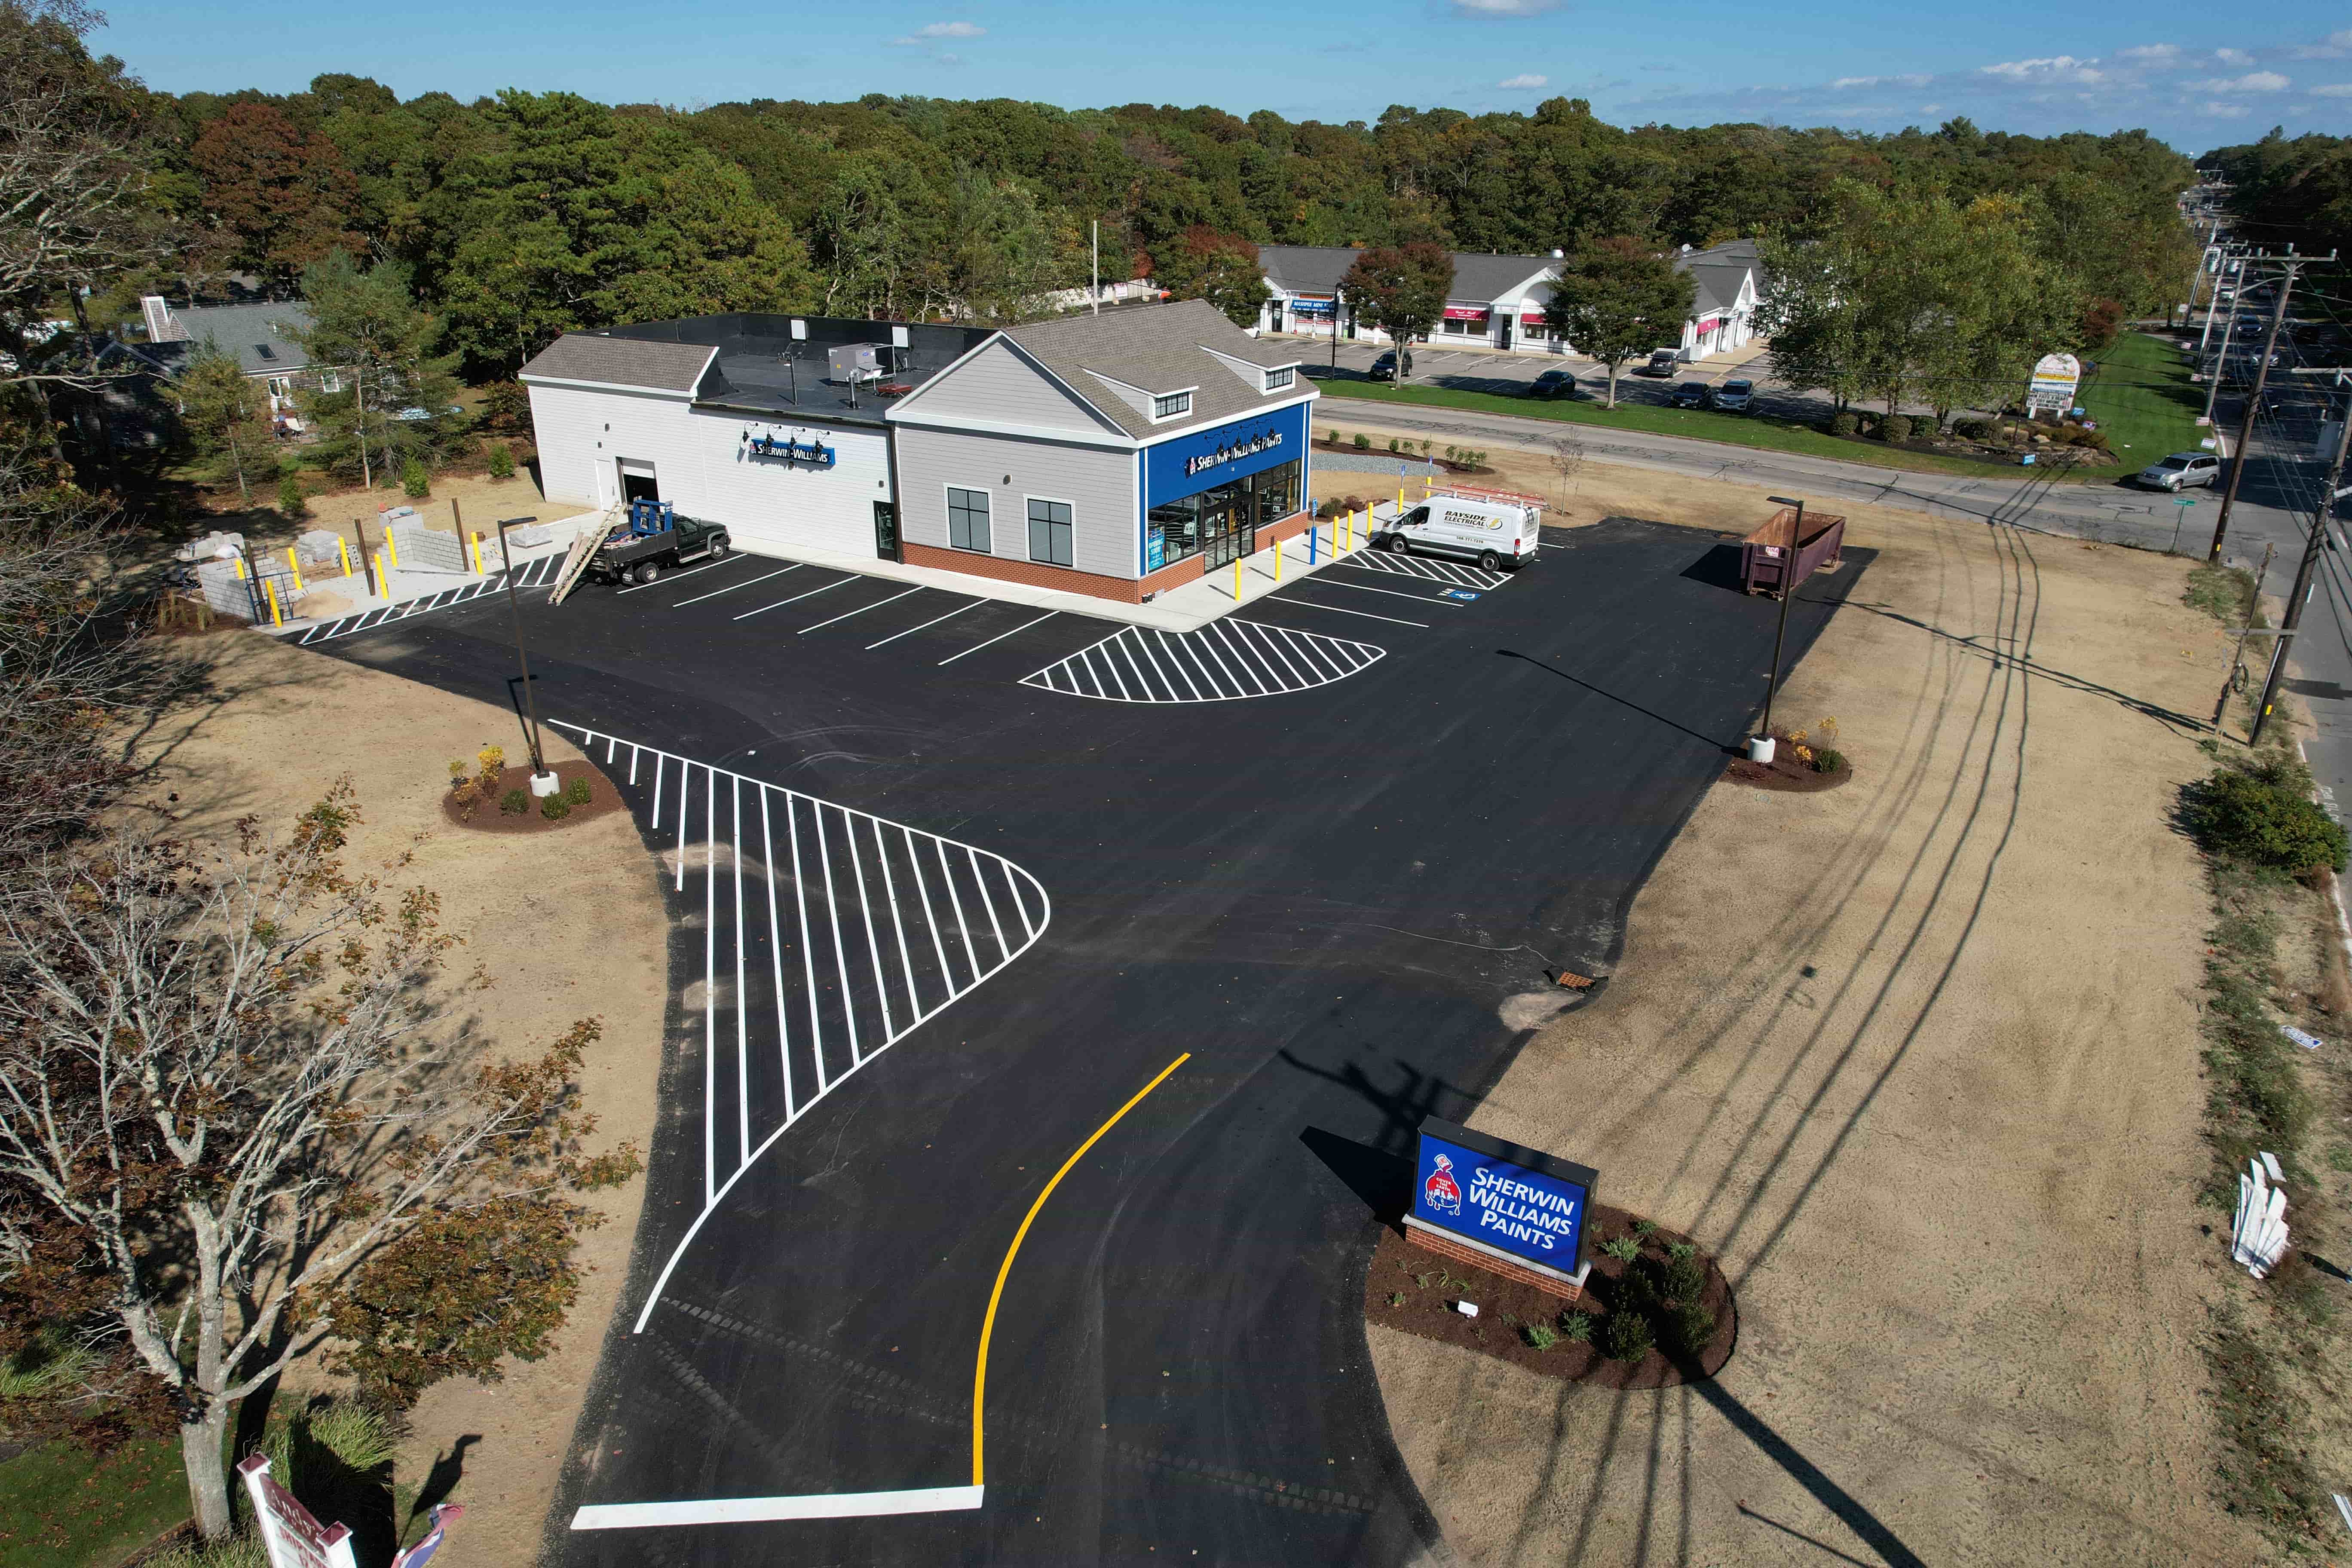
The core of any drone inspection is the imagery. But not all photos are equally useful. A good practice is to shoot a systematic set of images that covers every roof plane, gutter line, downspout, and chimney. Overlap each shot by about thirty percent so that later you can stitch them into a seamless 360 panorama or a detailed site map. For flat roofs, capture the entire surface in a grid pattern. For sloped roofs, fly parallel to the ridge line and capture both the field and the edges.
Beyond the roof, document the building perimeter. Include photos of the foundation, exterior walls, windows, doors, and any visible utility connections. If the property has parking lots, walkways, or landscaping, capture those as well. The goal is to create a visual baseline that shows what the property looked like on that specific day. When a tenant reports a leak or a crack, you can compare the new imagery against this baseline to see if the issue existed before or has worsened.
Close-Ups of Known Problem Areas
Every property has a few trouble spots: a patch of roof that always ponds water, a seam where two roof materials meet, a gutter that clogs every autumn. Fly close to these areas and take multiple angles. Use the drone's zoom if it has one, or fly lower to get a clear shot. Include a reference object like a ruler or a common item in the frame so that the scale of any crack or gap is obvious. These close-ups become the photo evidence that supports repair requests or insurance claims.
For maintenance issues you already know about, document their condition at each visit. A small blister in the roof membrane might look harmless one month and grow into a tear the next. Without a series of dated close-ups, it is hard to prove when the damage started or how fast it progressed. Property managers who upload these images to an aerial inspection portal can create a visual timeline that makes the case for proactive repairs much stronger.
Structure and System Data: Beyond the Surface
Drones can capture more than just visible damage. If your drone is equipped with a thermal camera, record temperature readings on the roof surface. Look for hot spots that might indicate insulation gaps or moisture trapped under the membrane. For flat roofs, thermal data can reveal hidden leaks long before water stains appear on the ceiling below. Log the ambient temperature and the time of day for each thermal shot, because solar loading affects readings significantly.
For properties with solar panels, document the panel layout and any visible defects such as cracks, delamination, or soiling. Note the orientation of the panels and any shading from nearby trees or structures. This information helps evaluate whether the system is performing as expected. Similarly, for HVAC units on the roof, capture the model numbers if they are visible, the condition of the condenser coils, and any signs of refrigerant oil or debris buildup around the units.
Safety and Compliance Notes
Every drone visit should also record safety-related observations. Note any trip hazards on the ground, such as loose gravel or exposed cables near the takeoff and landing area. If you see damaged guardrails, missing warning signs, or overgrown vegetation that could hide a hazard, photograph those and log them in the report. These notes protect both the property management team and the drone operator, and they can serve as evidence of due diligence if an accident occurs later.
Compliance with local drone regulations is another item to document. Record the flight authorization number if one was required, the maximum altitude flown, and any no-fly zones that were avoided. For properties near airports, helipads, or other sensitive areas, keep a copy of the airspace waiver or permission letter. This paperwork, stored alongside the imagery in the aerial inspection portal, shows that every flight was conducted legally and responsibly.
Organizing Everything for Easy Retrieval
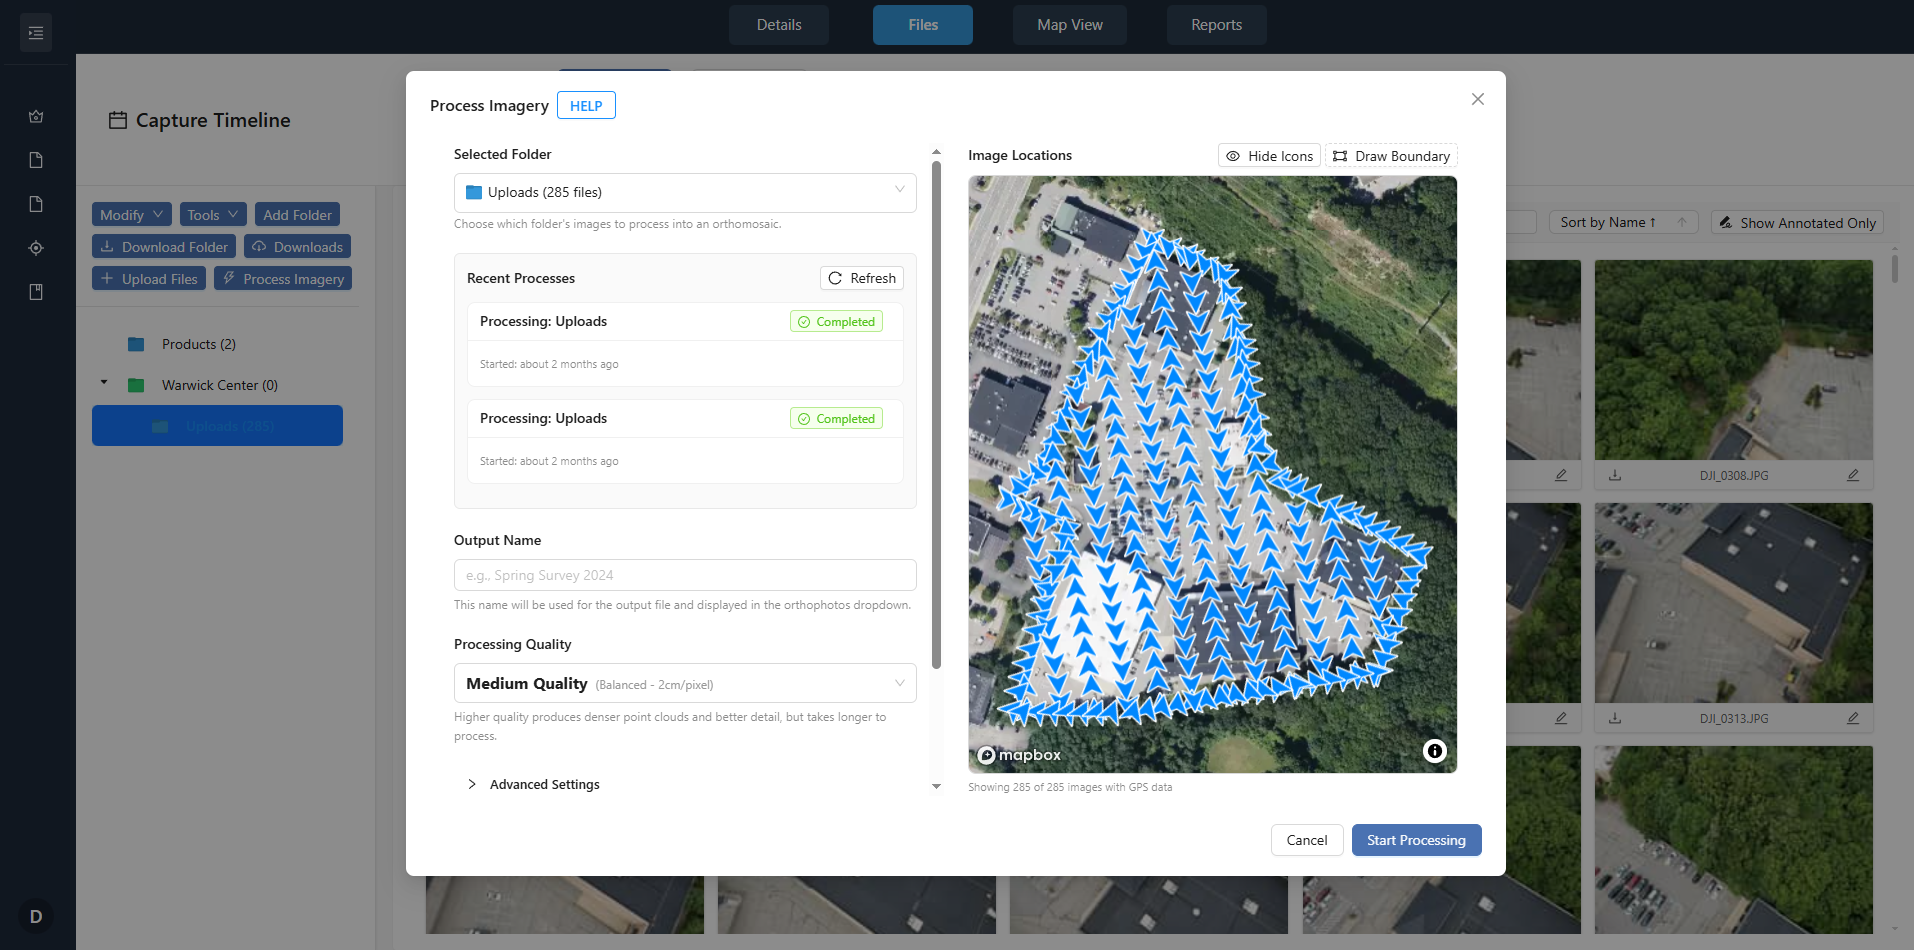
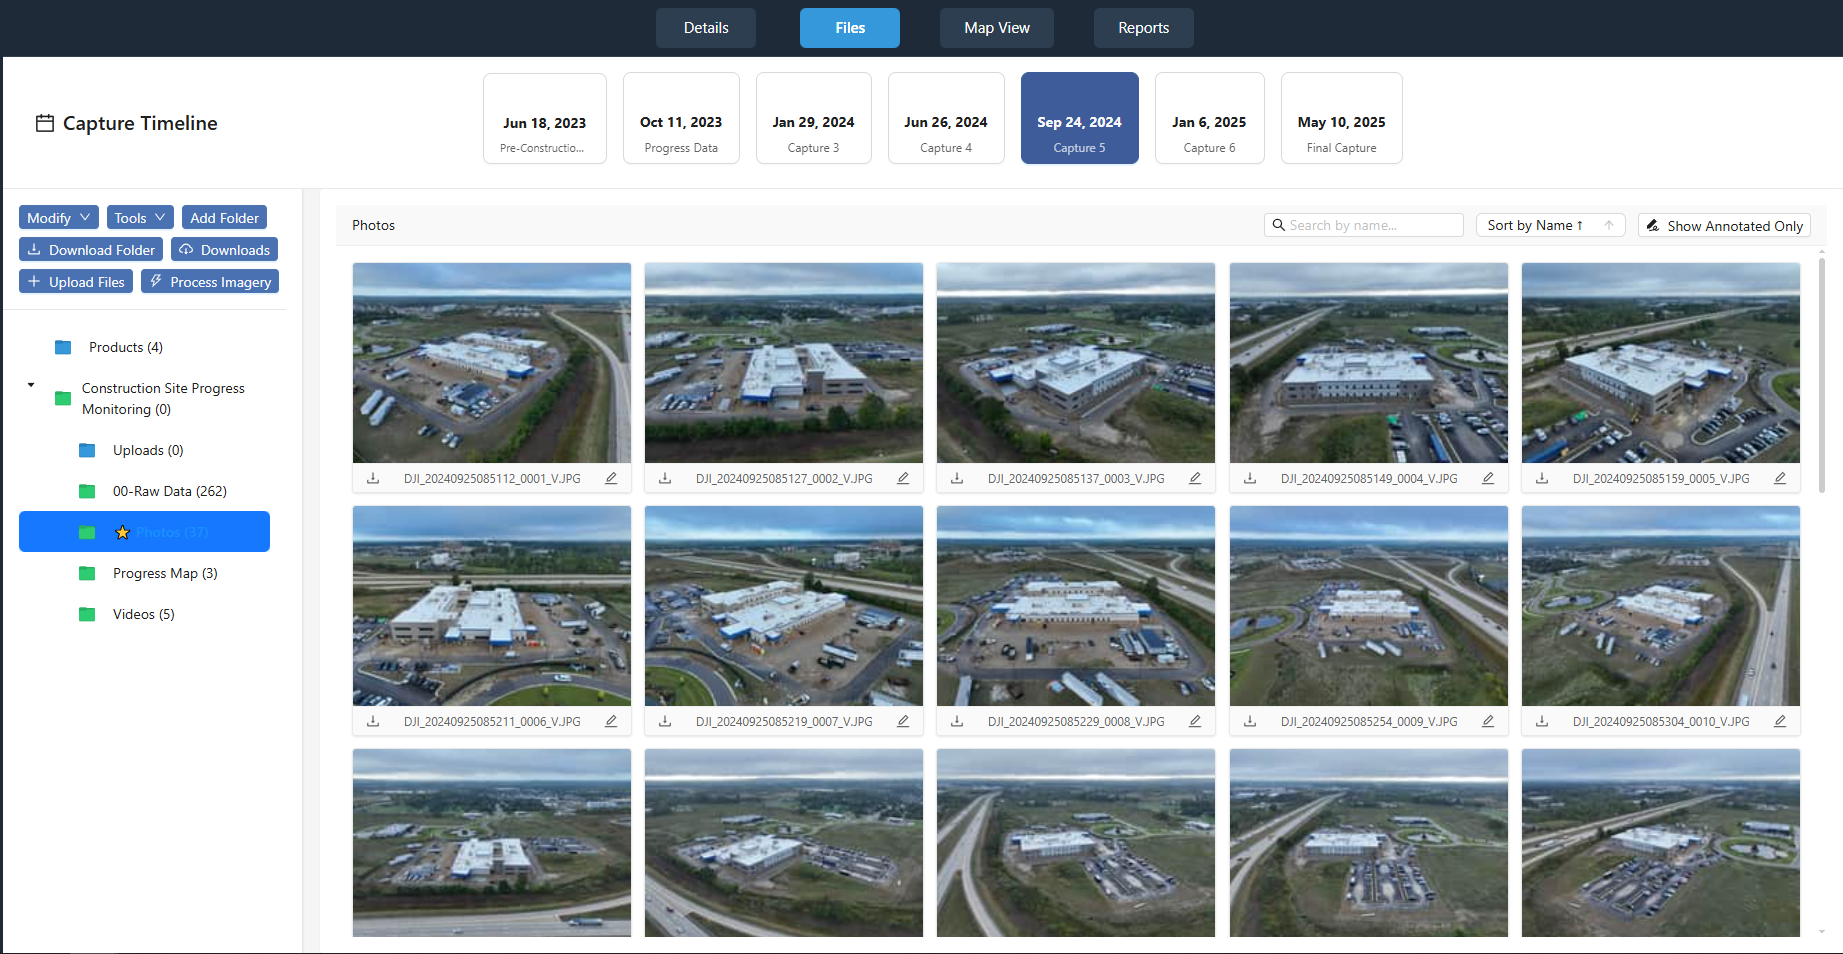
Collecting all this data is only half the work. The other half is organizing it so that someone who was not on the flight can find what they need. Use a folder structure that mirrors the property layout: one folder per property, one subfolder per flight date. Inside each flight folder, separate raw images from processed outputs like orthomosaics or 3D models. Include a simple text file or spreadsheet that lists every file name and what it shows. This index might read: "IMG_0456, northeast corner of main roof, close-up of cracked flashing."
When you upload everything to an aerial inspection portal, tag each image with relevant metadata: the inspection date, the area of the building, and the type of observation (roof, wall, gutter, HVAC, safety). Many portals allow you to add notes directly to an image. Use that feature to describe exactly what the property manager should look at. A note that says "crack in sealant along the south parapet" is far more useful than a file name alone.
Property managers who work with National Drone Services consistently appreciate having a single source of truth for all their drone data. When the same portal holds every flight's imagery, reports, and notes, comparing conditions across months or years becomes a matter of a few clicks. That long view is what turns a simple photo collection into a powerful tool for budgeting and planning.
Review and Share the Findings
After the flight and before you finalize the report, review the images for completeness. Check that every planned area was covered and that the photos are in focus and properly exposed. If you notice a gap, it is better to go back up while you are still on site than to explain the missing shot later. Share a draft report with the property manager and ask for feedback. They may point out a new area of concern that you did not think to photograph.
Finally, archive the raw data. Keep a copy of every image, every log file, and every report in a secure location separate from the portal. Hard drives fail, and portals sometimes change their terms. A local backup ensures that you never lose the visual history of a property. When you follow these practices on every drone visit, the documentation becomes more than a record: it becomes a foundation for smarter property management decisions.